Sandustry Beginner's Guide
Welcome to Sandustry — a pixel factory-automation game where you transform a planet’s raw materials into an ever-growing industrial operation. This guide explains the interface, logistics, production, research, upgrades, augments, and a practical route through the five tiers of Early Access.
Gameplay Overview
You land on an unexplored world and gradually build a factory that refines Sand into Gold, then flowers into Amethelis, and finally produces Energy. Along the way you will unlock new buildings, capture creatures, solve ancient puzzles, and decide which technologies deserve your limited Gold budget.
Three currencies drive long-term decisions:
| Currency | Purpose |
|---|---|
| Gold | Pays for Research and unlocks tiers. |
| Fluxite | Pays for Upgrades to your tools and drones. |
| Energy | Powers late-game structures and becomes your final scaling goal. |
The planet gives you several possible focuses at once: better logistics, stronger weapons for exploration, or artifact hunting for permanent augments. The most reliable strategy is to solve the objective currently blocking the next tier, then stop over-investing in that area.
User Interface
The screen is built around a few persistent tools. The currency bar tracks Gold, Fluxite, and Energy. Objectives list current missions and add a yellow arrow to the minimap. The minimap lets you see beyond the visible screen. The hotbar system gives you ten hotbars of ten slots each for buildings and inventory items; switch quickly with Alt + number or Alt + mouse scroll. Shortcut keys handle copy, paste, replace, and selection modes.
Logistics and Transportation
Most logistics buildings require no power and run continuously. You will use three main systems to move resources around.
Conveyors and Launchers
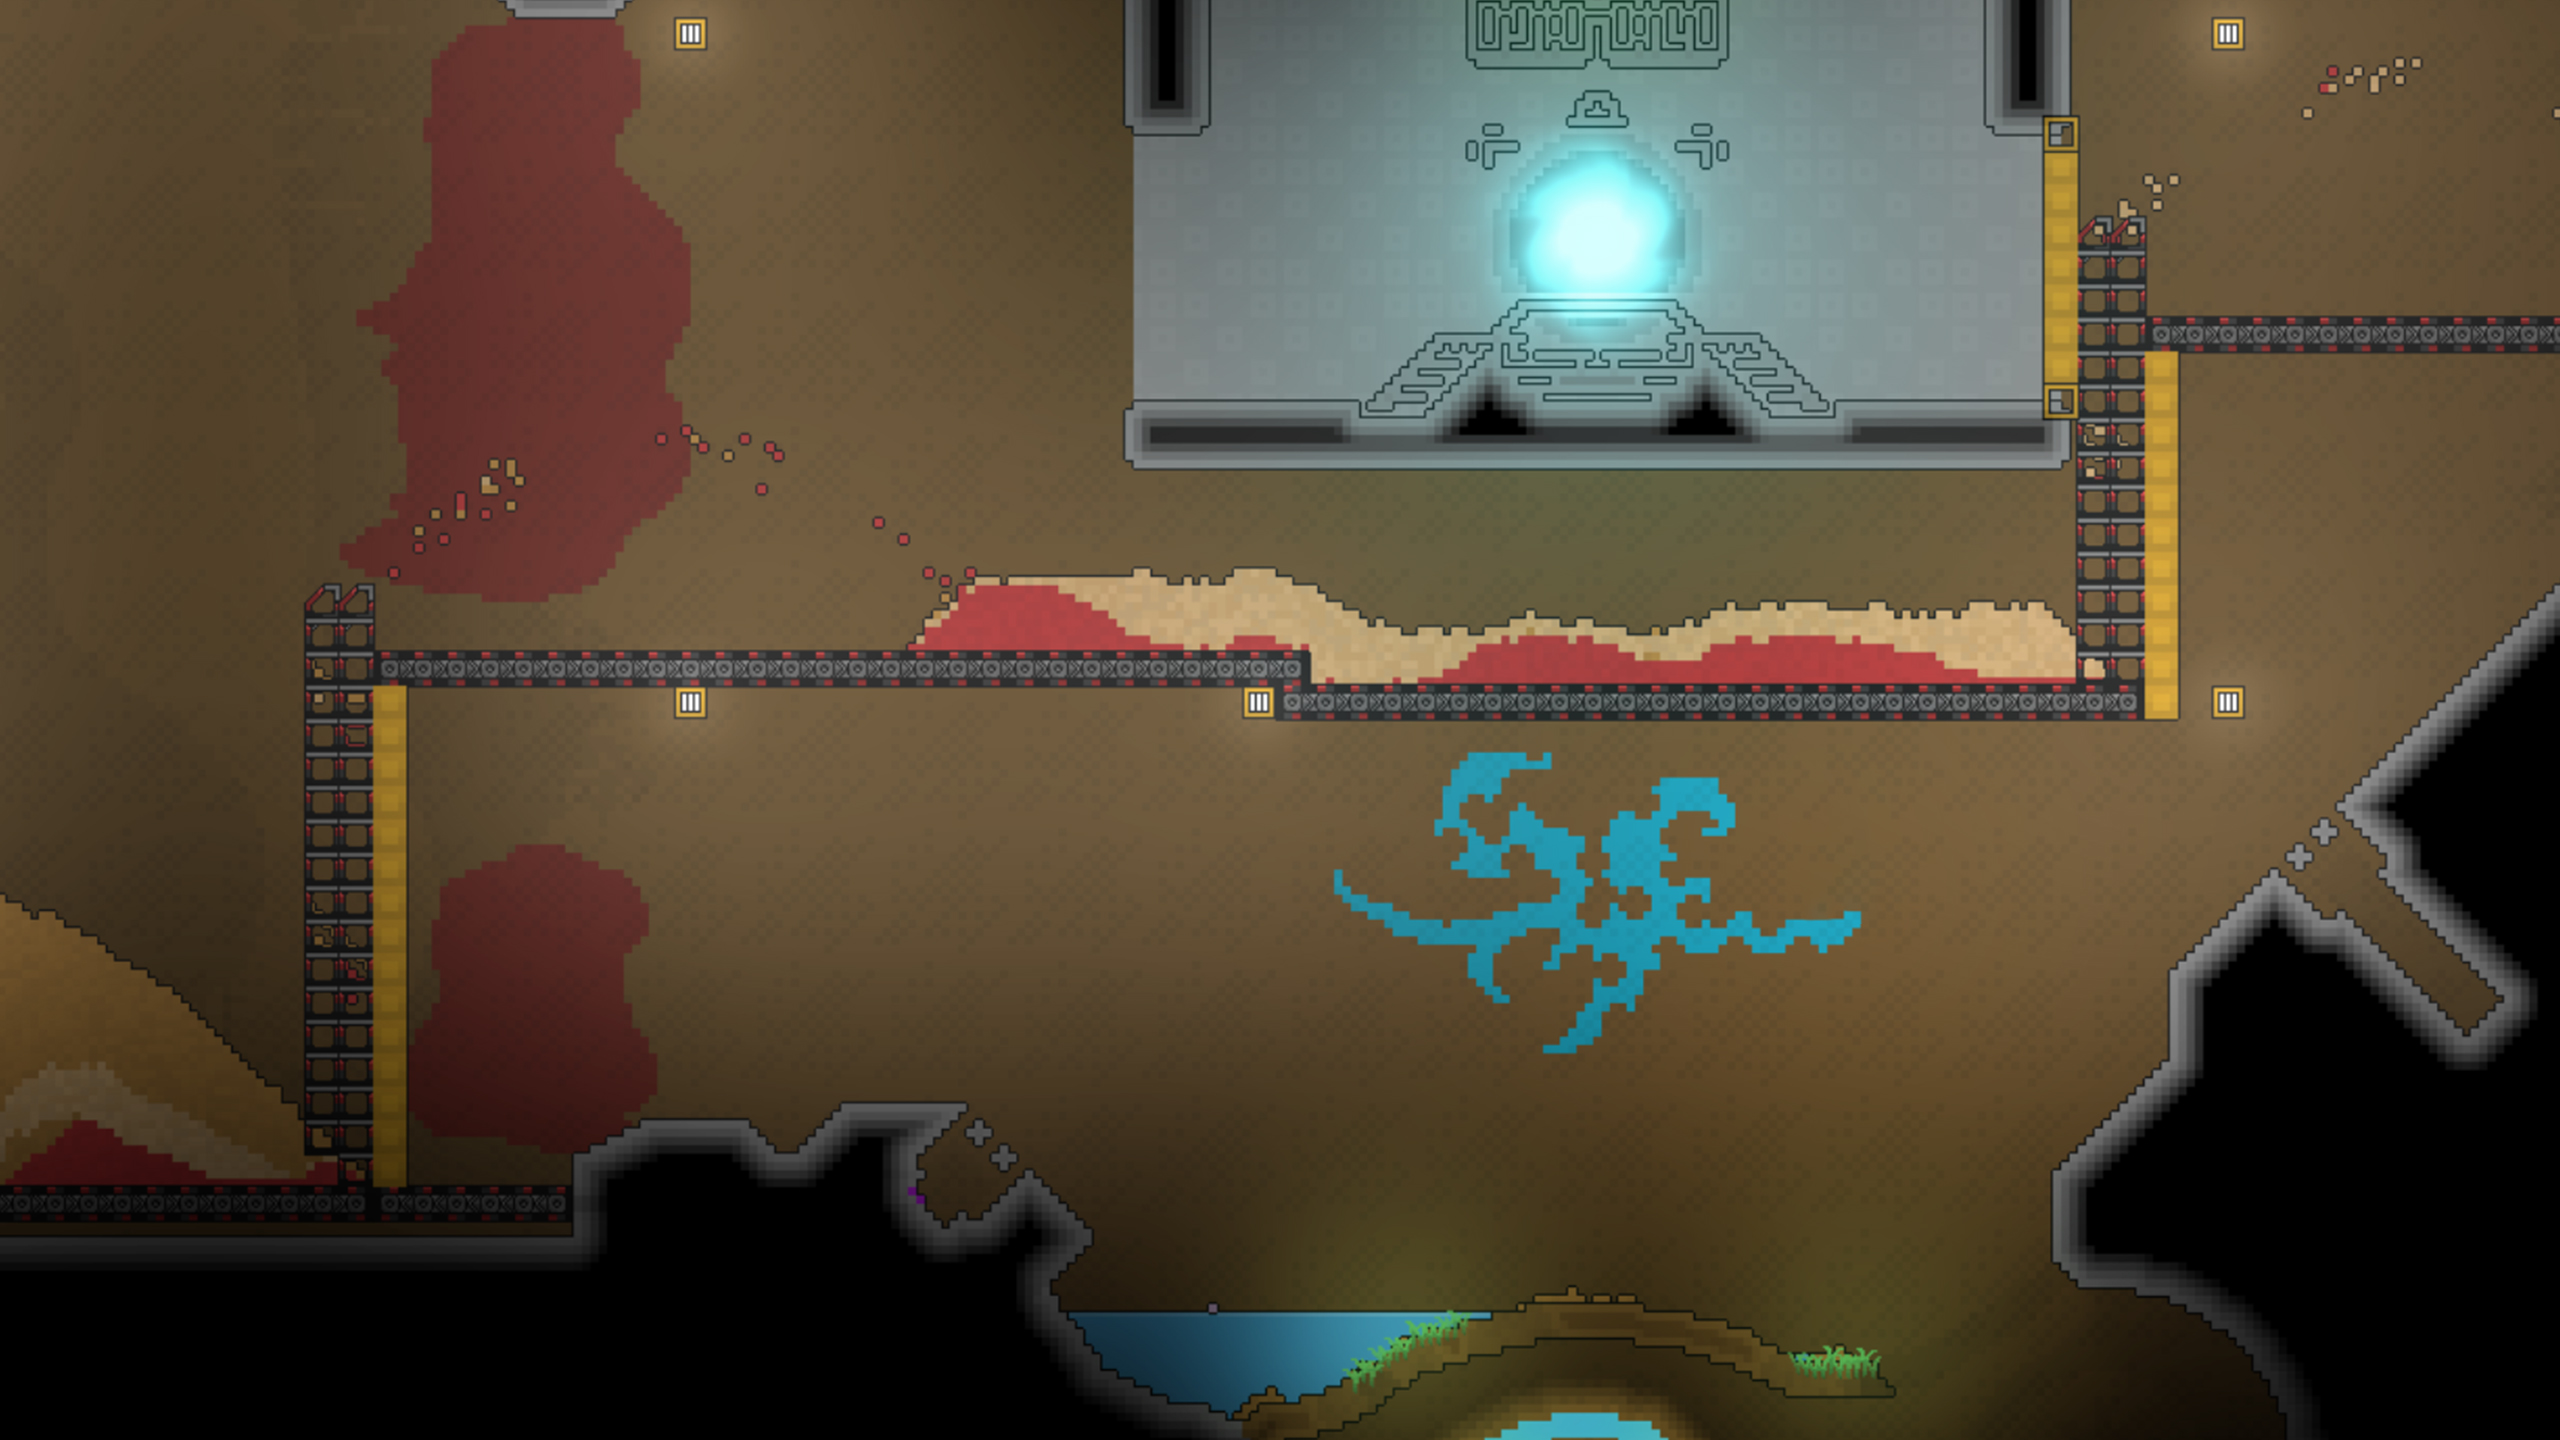
Conveyor Belts move solids horizontally; drag placement sets their direction. Launchers move solids vertically or diagonally, throwing resources from the highest point of the shaft toward the side you dragged. Later tiers unlock Mark 2 versions that are faster and throw farther.
Filters
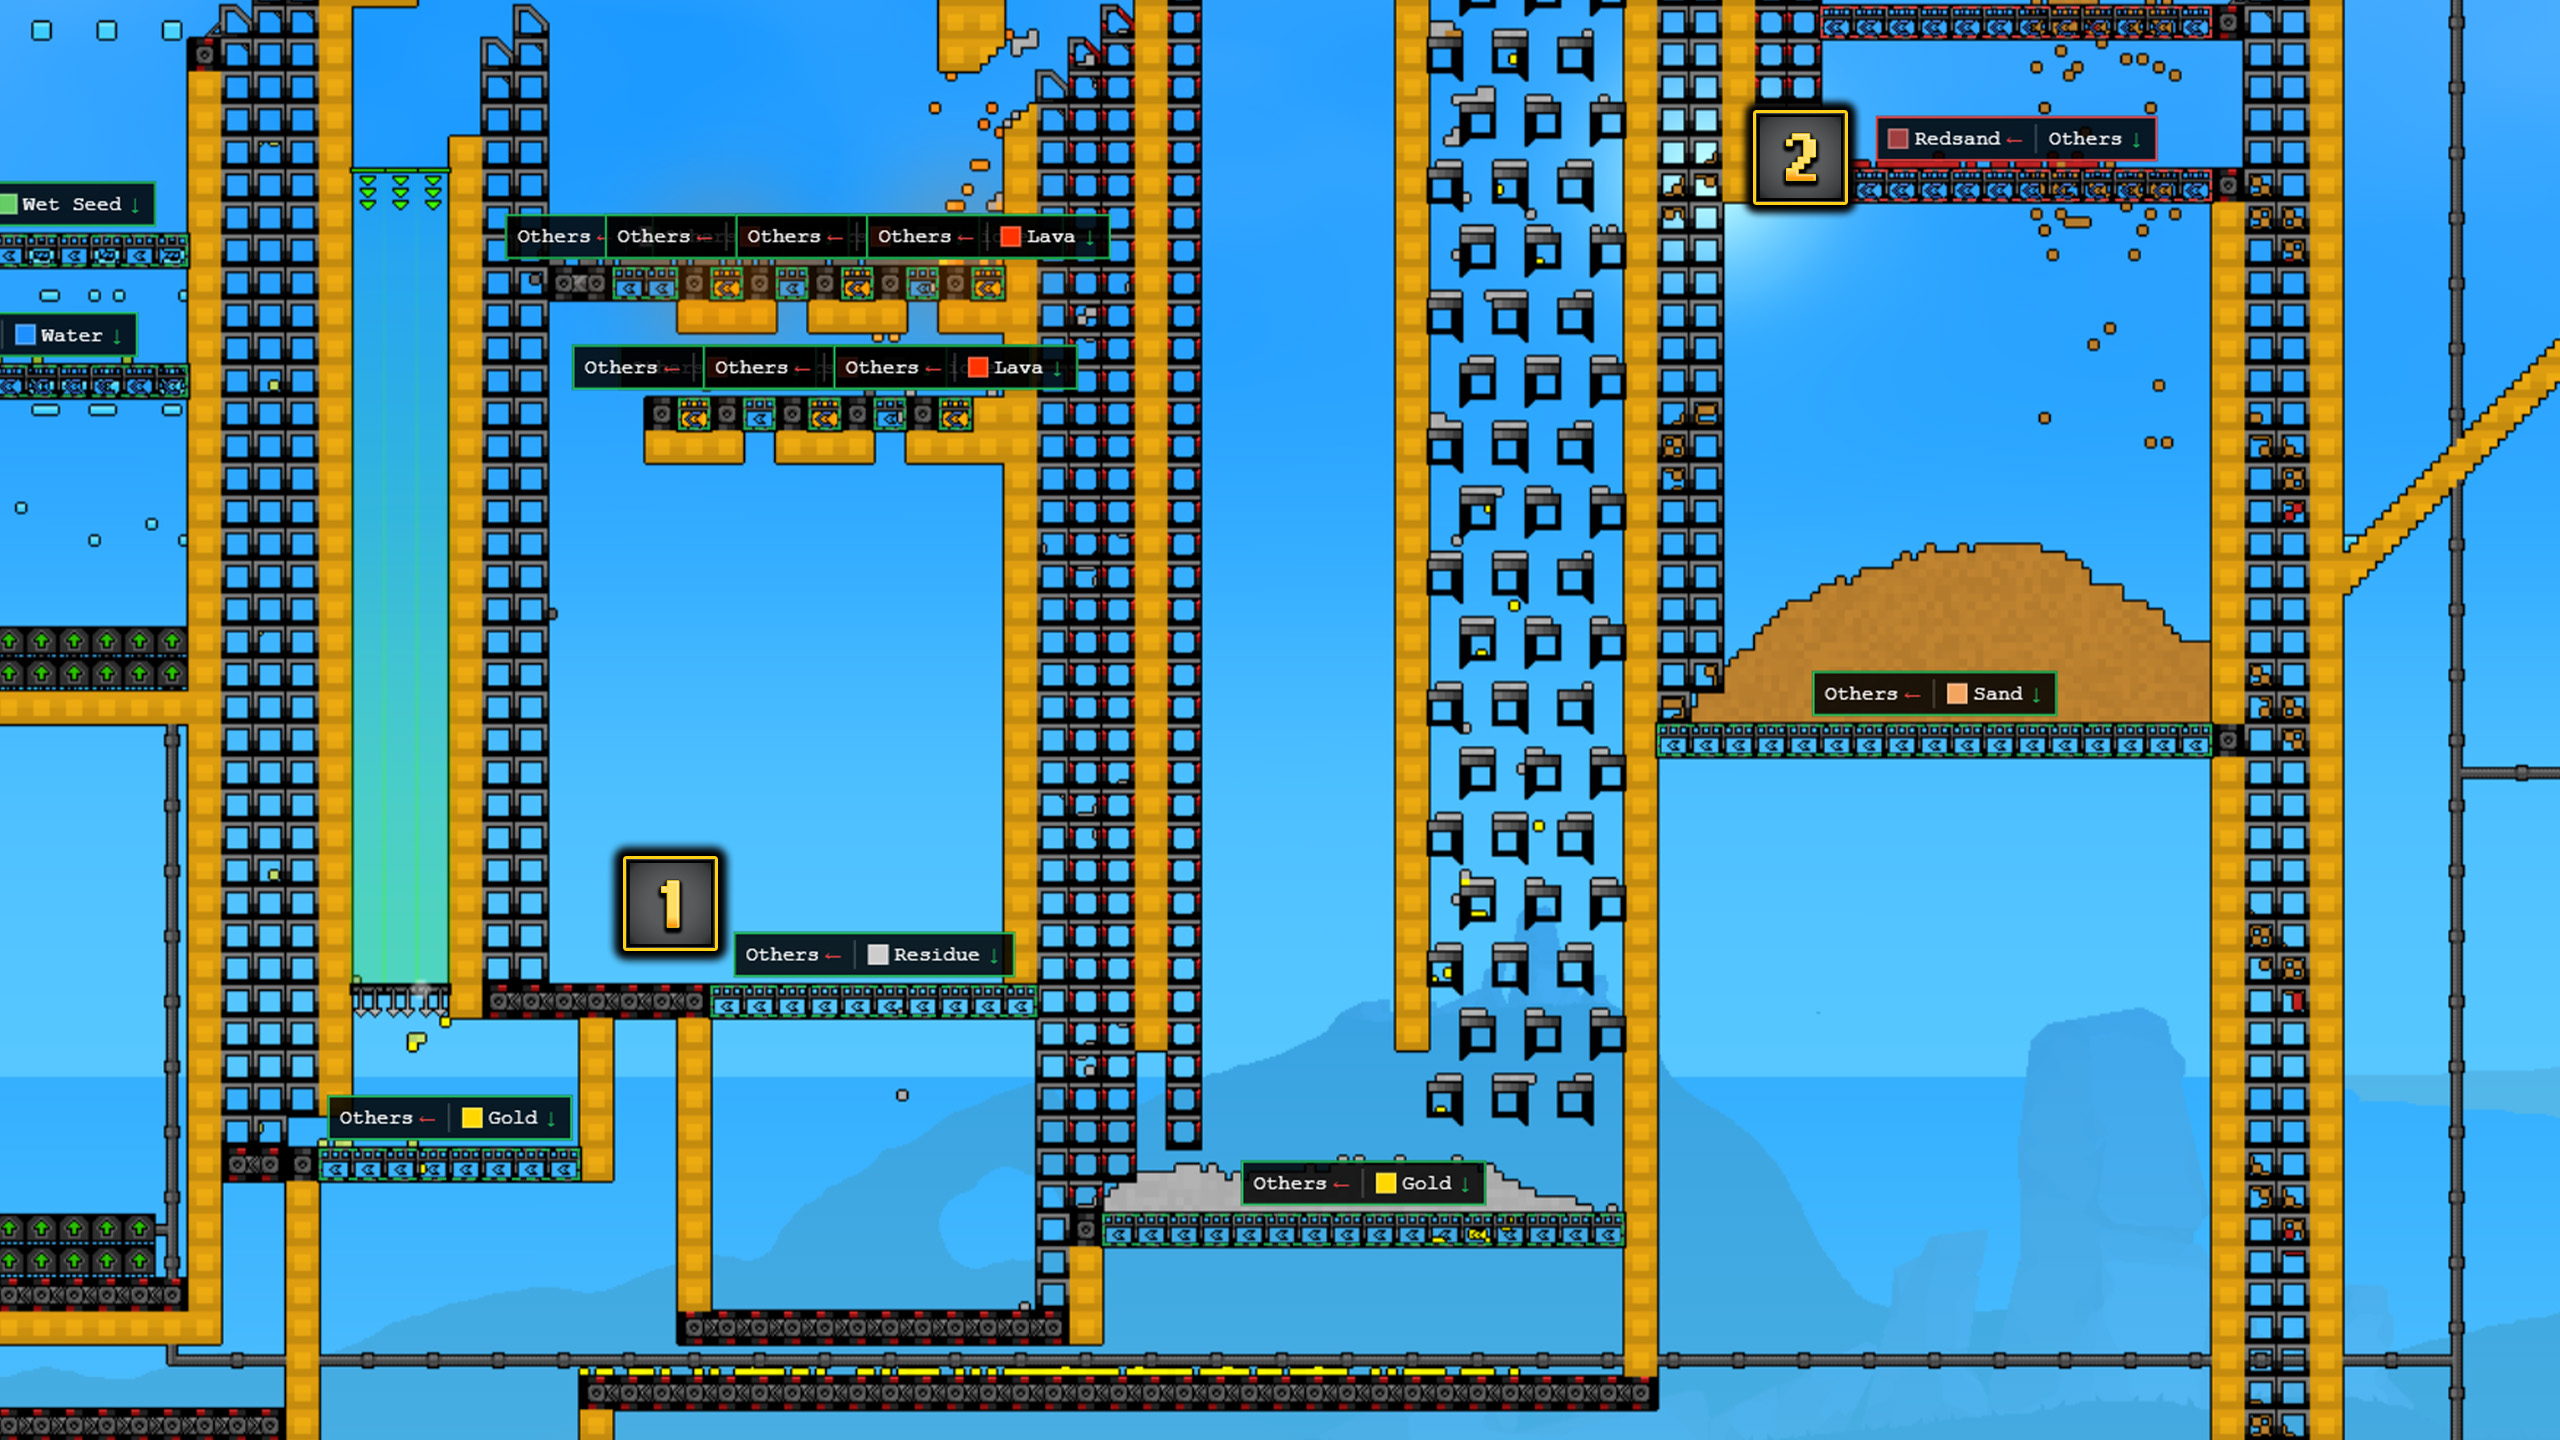
A Filter sorts one solid resource at a time from a mixed stream. It has two modes:
| Mode | Effect |
|---|---|
| Allow | Only the selected resource falls through; everything else is blocked. |
| Block | Everything except the selected resource falls through. |
Basic filters handle solids only. Advanced filters, unlocked later, can also filter liquids and gases.
To separate several solids, chain filters: block one material on the first filter, then block the next material on the second.
Moving Fluids
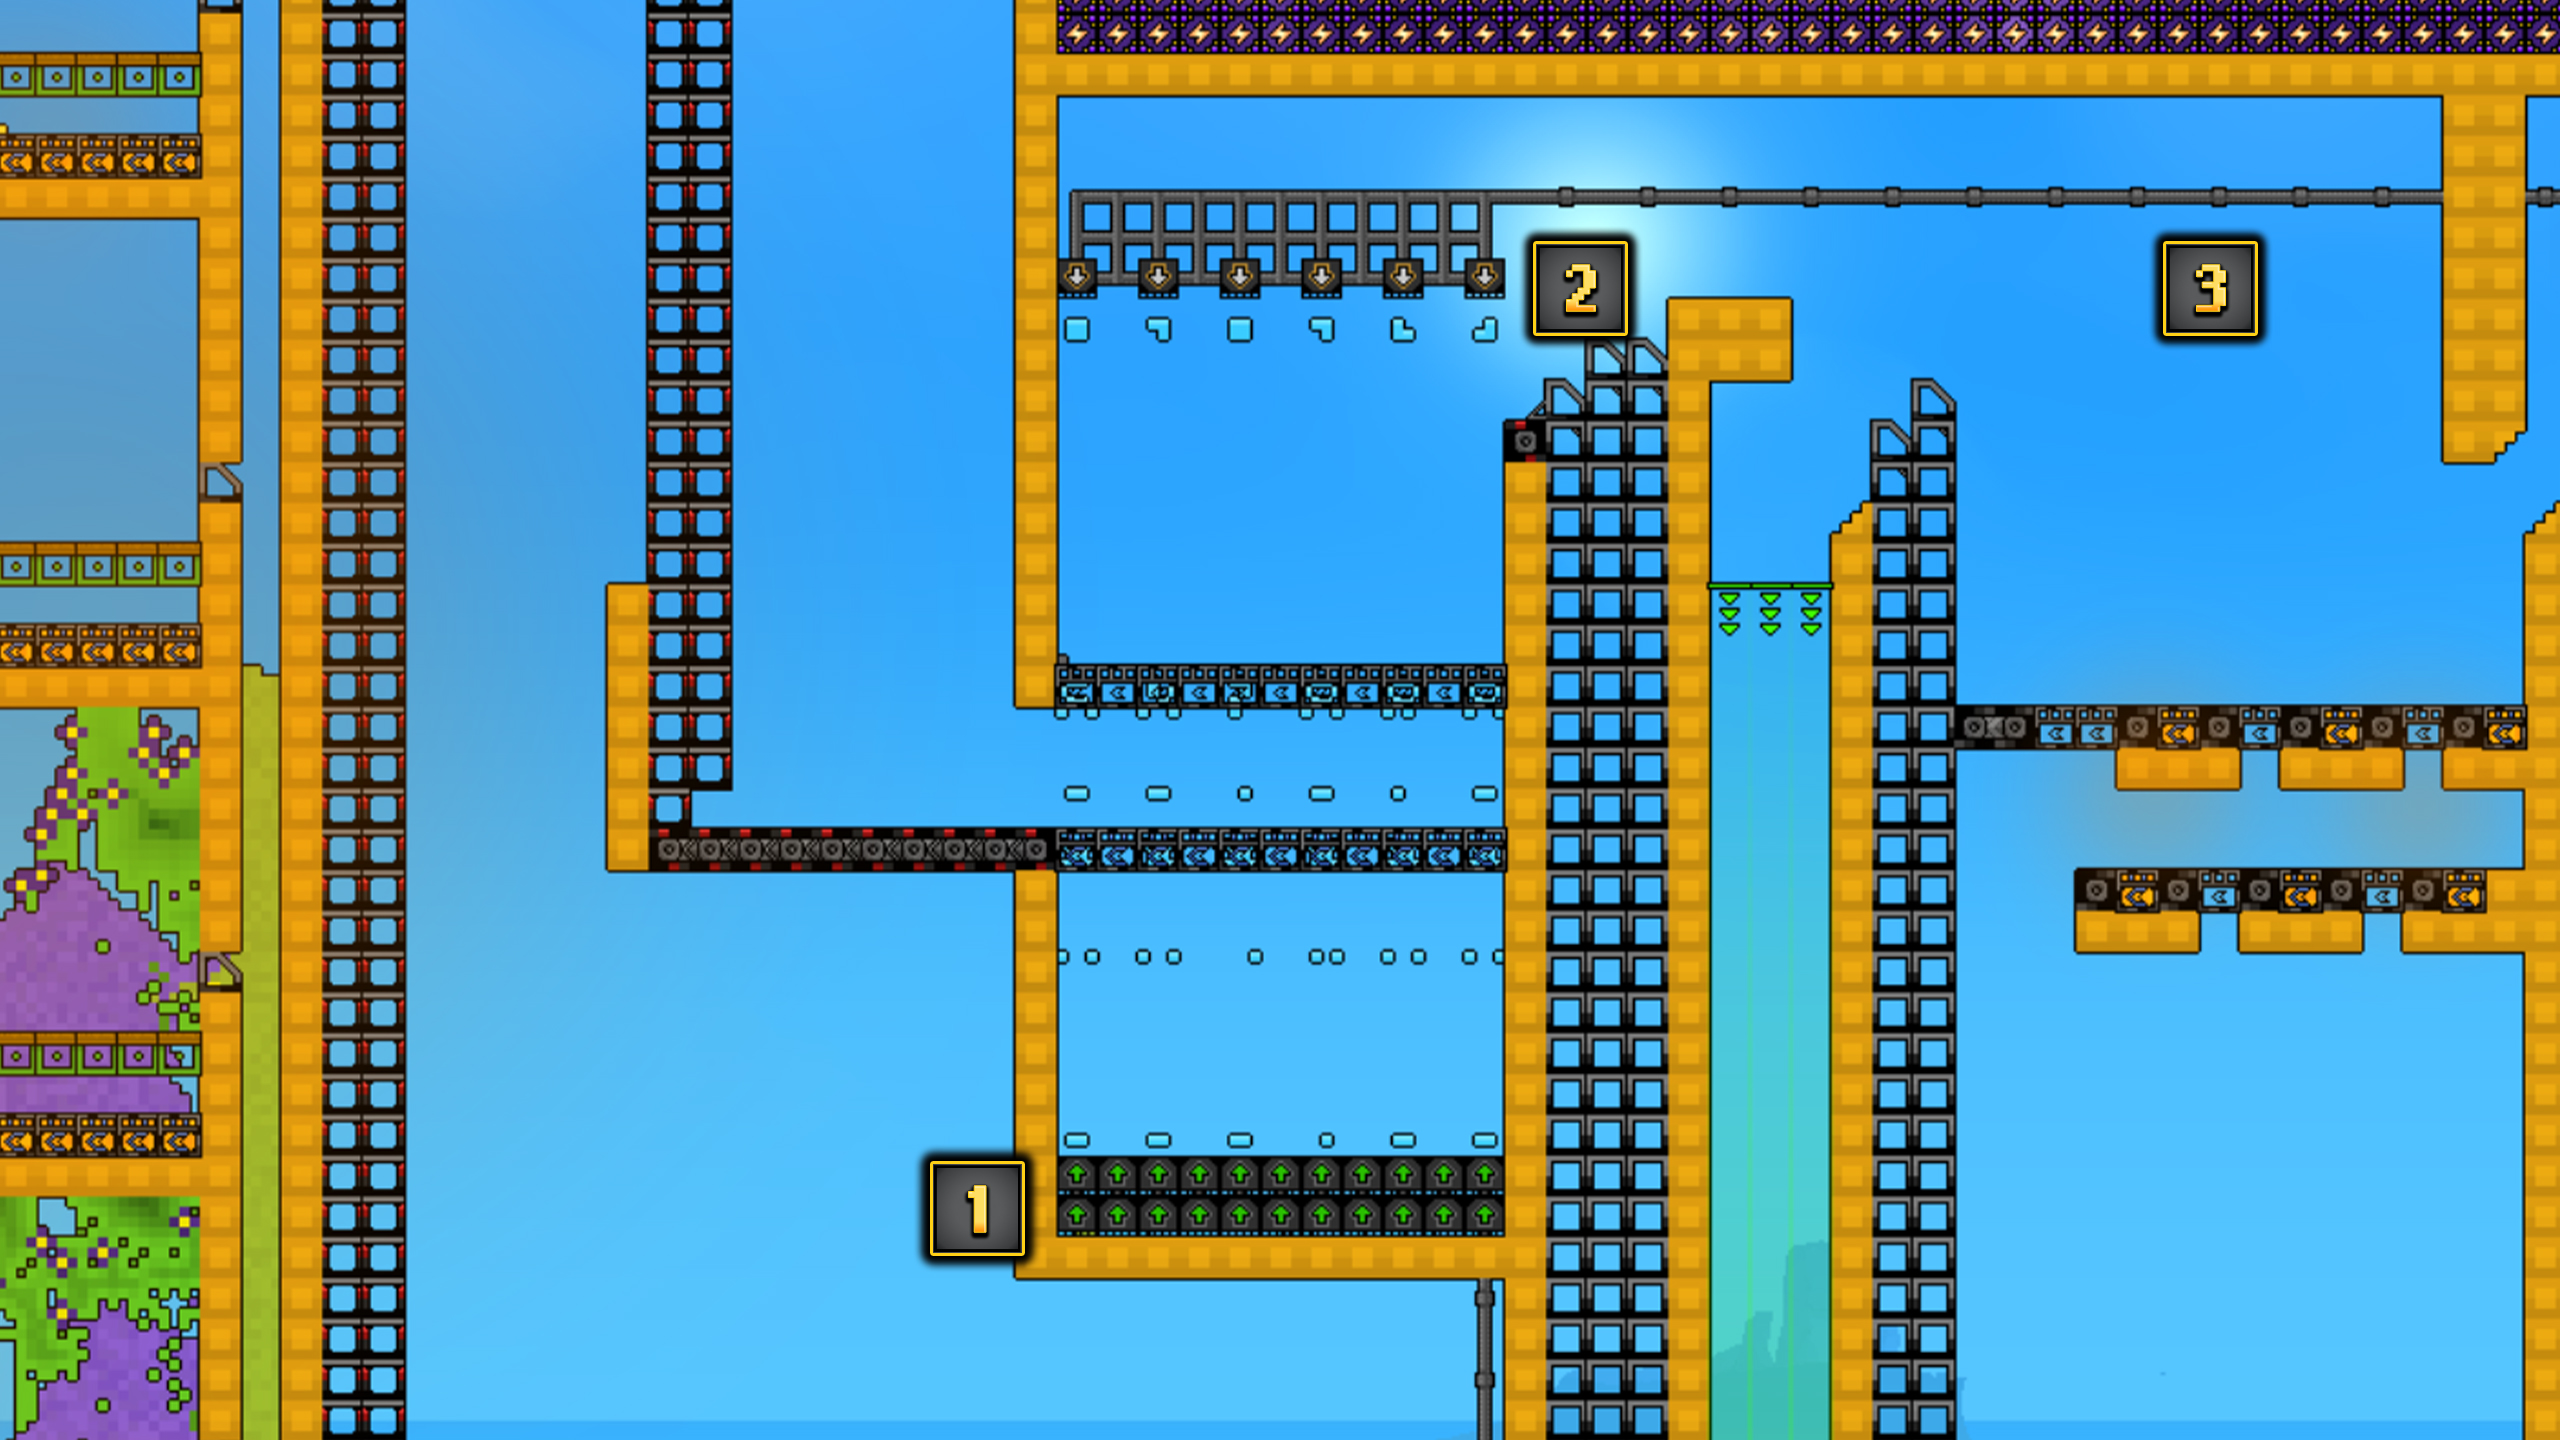
Fluids other than lava move through Pipes between a Pump input and a Liquid Vent output. Pumping continues as long as fluid exists at or above the pump and the vent has not reached the same height.
A single pipeline can carry multiple fluid types, but a Liquid Vent always outputs whichever liquid is closest. For predictable factories, keep separate fluid lines.
Production and Refining
Your factory refines materials through a sequence of structures. The Material Scanner Upgrade for your Grabber is a good early purchase because it lets you hover over any resource to see how it can be refined or used.
Gold Production
Three core structures produce Gold:
- Shaker — sifts Wet Sand into Gold and Residue.
- Kinetic Press — turns Burnt Residue dropped from height into Gold and Seeds.
- Planter Box — grows Wet Seeds into flowers that yield Gold and Amethelis.
Each stage feeds the next: Shaker Residue becomes Burnt Residue, which becomes Seeds, which become flowers, which become Amethelis for Energy.
Thermal Refining
Hot and cold structures change a material’s state of matter along this line:
- Heat: solid → liquid → gas
- Cold: gas → liquid → solid
This matters for the Energy chain and for transporting tricky materials such as lava.
Research
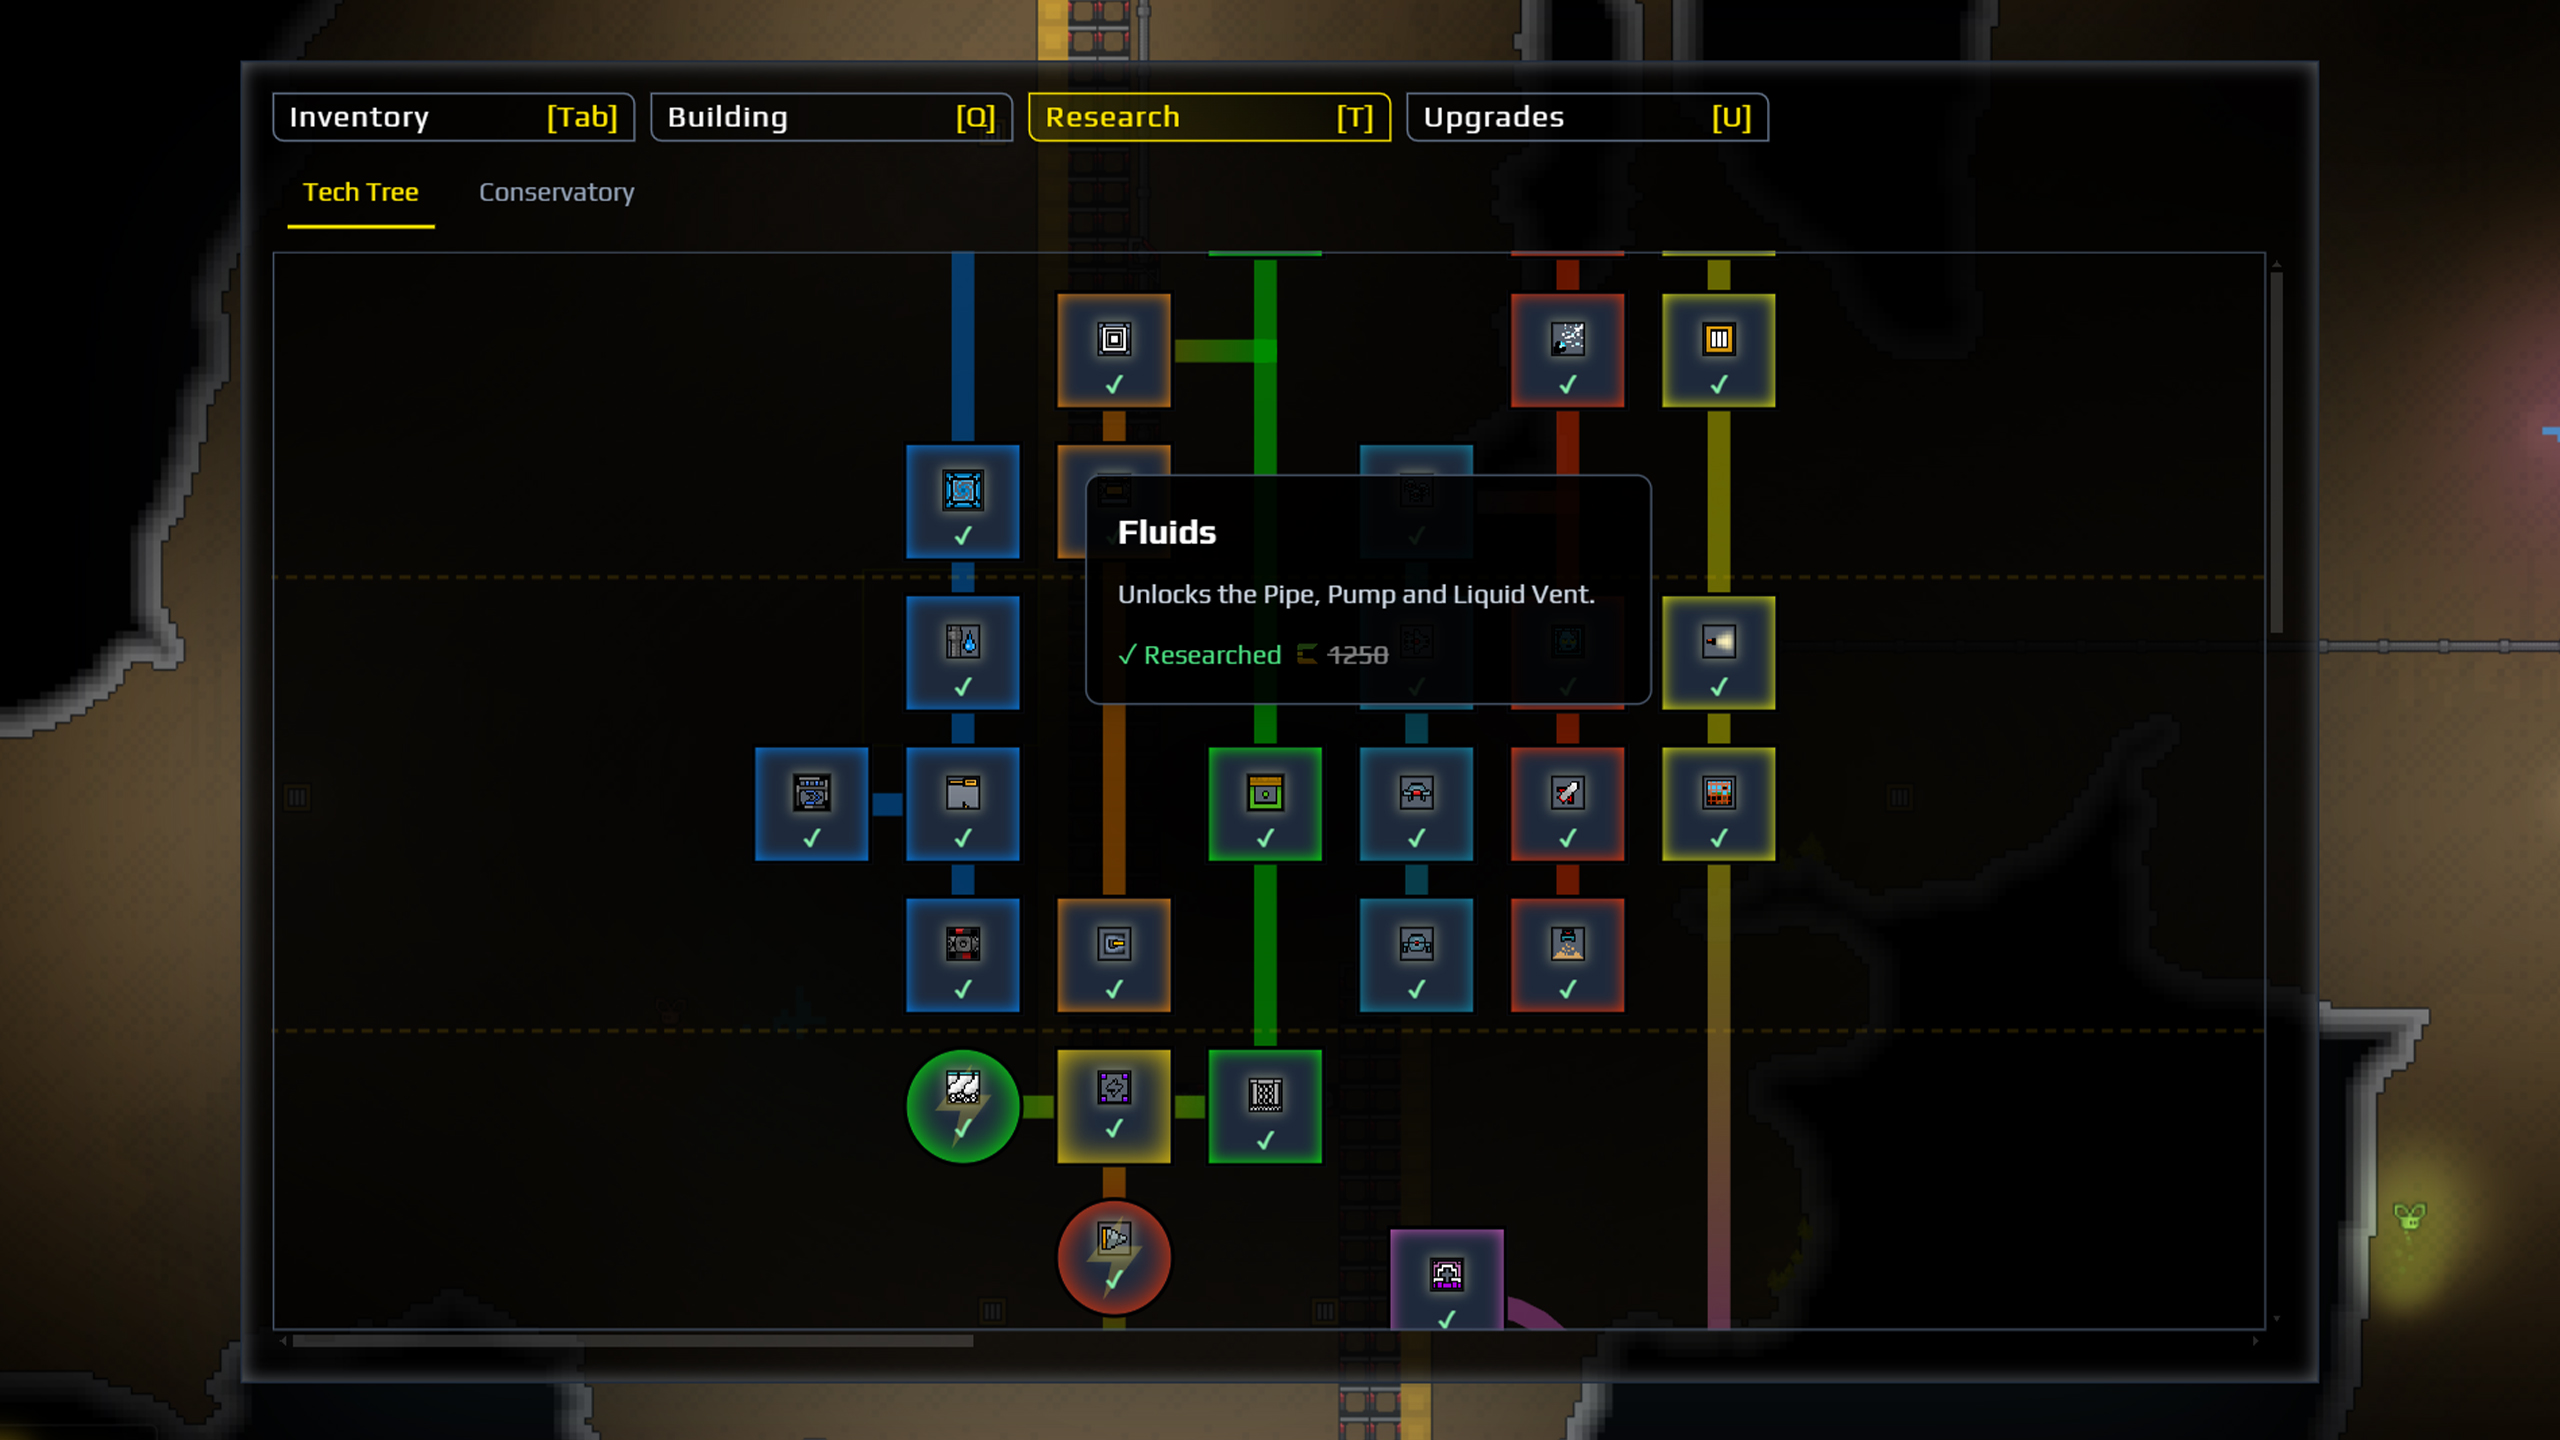
Research unlocks new buildings and tools and is purchased with Gold. Many nodes are gated behind your Factory Level, which advances when you complete performance milestones. A new tier does not mean every previous mission is finished — always check the active objective before buying the next tier.
Upgrades
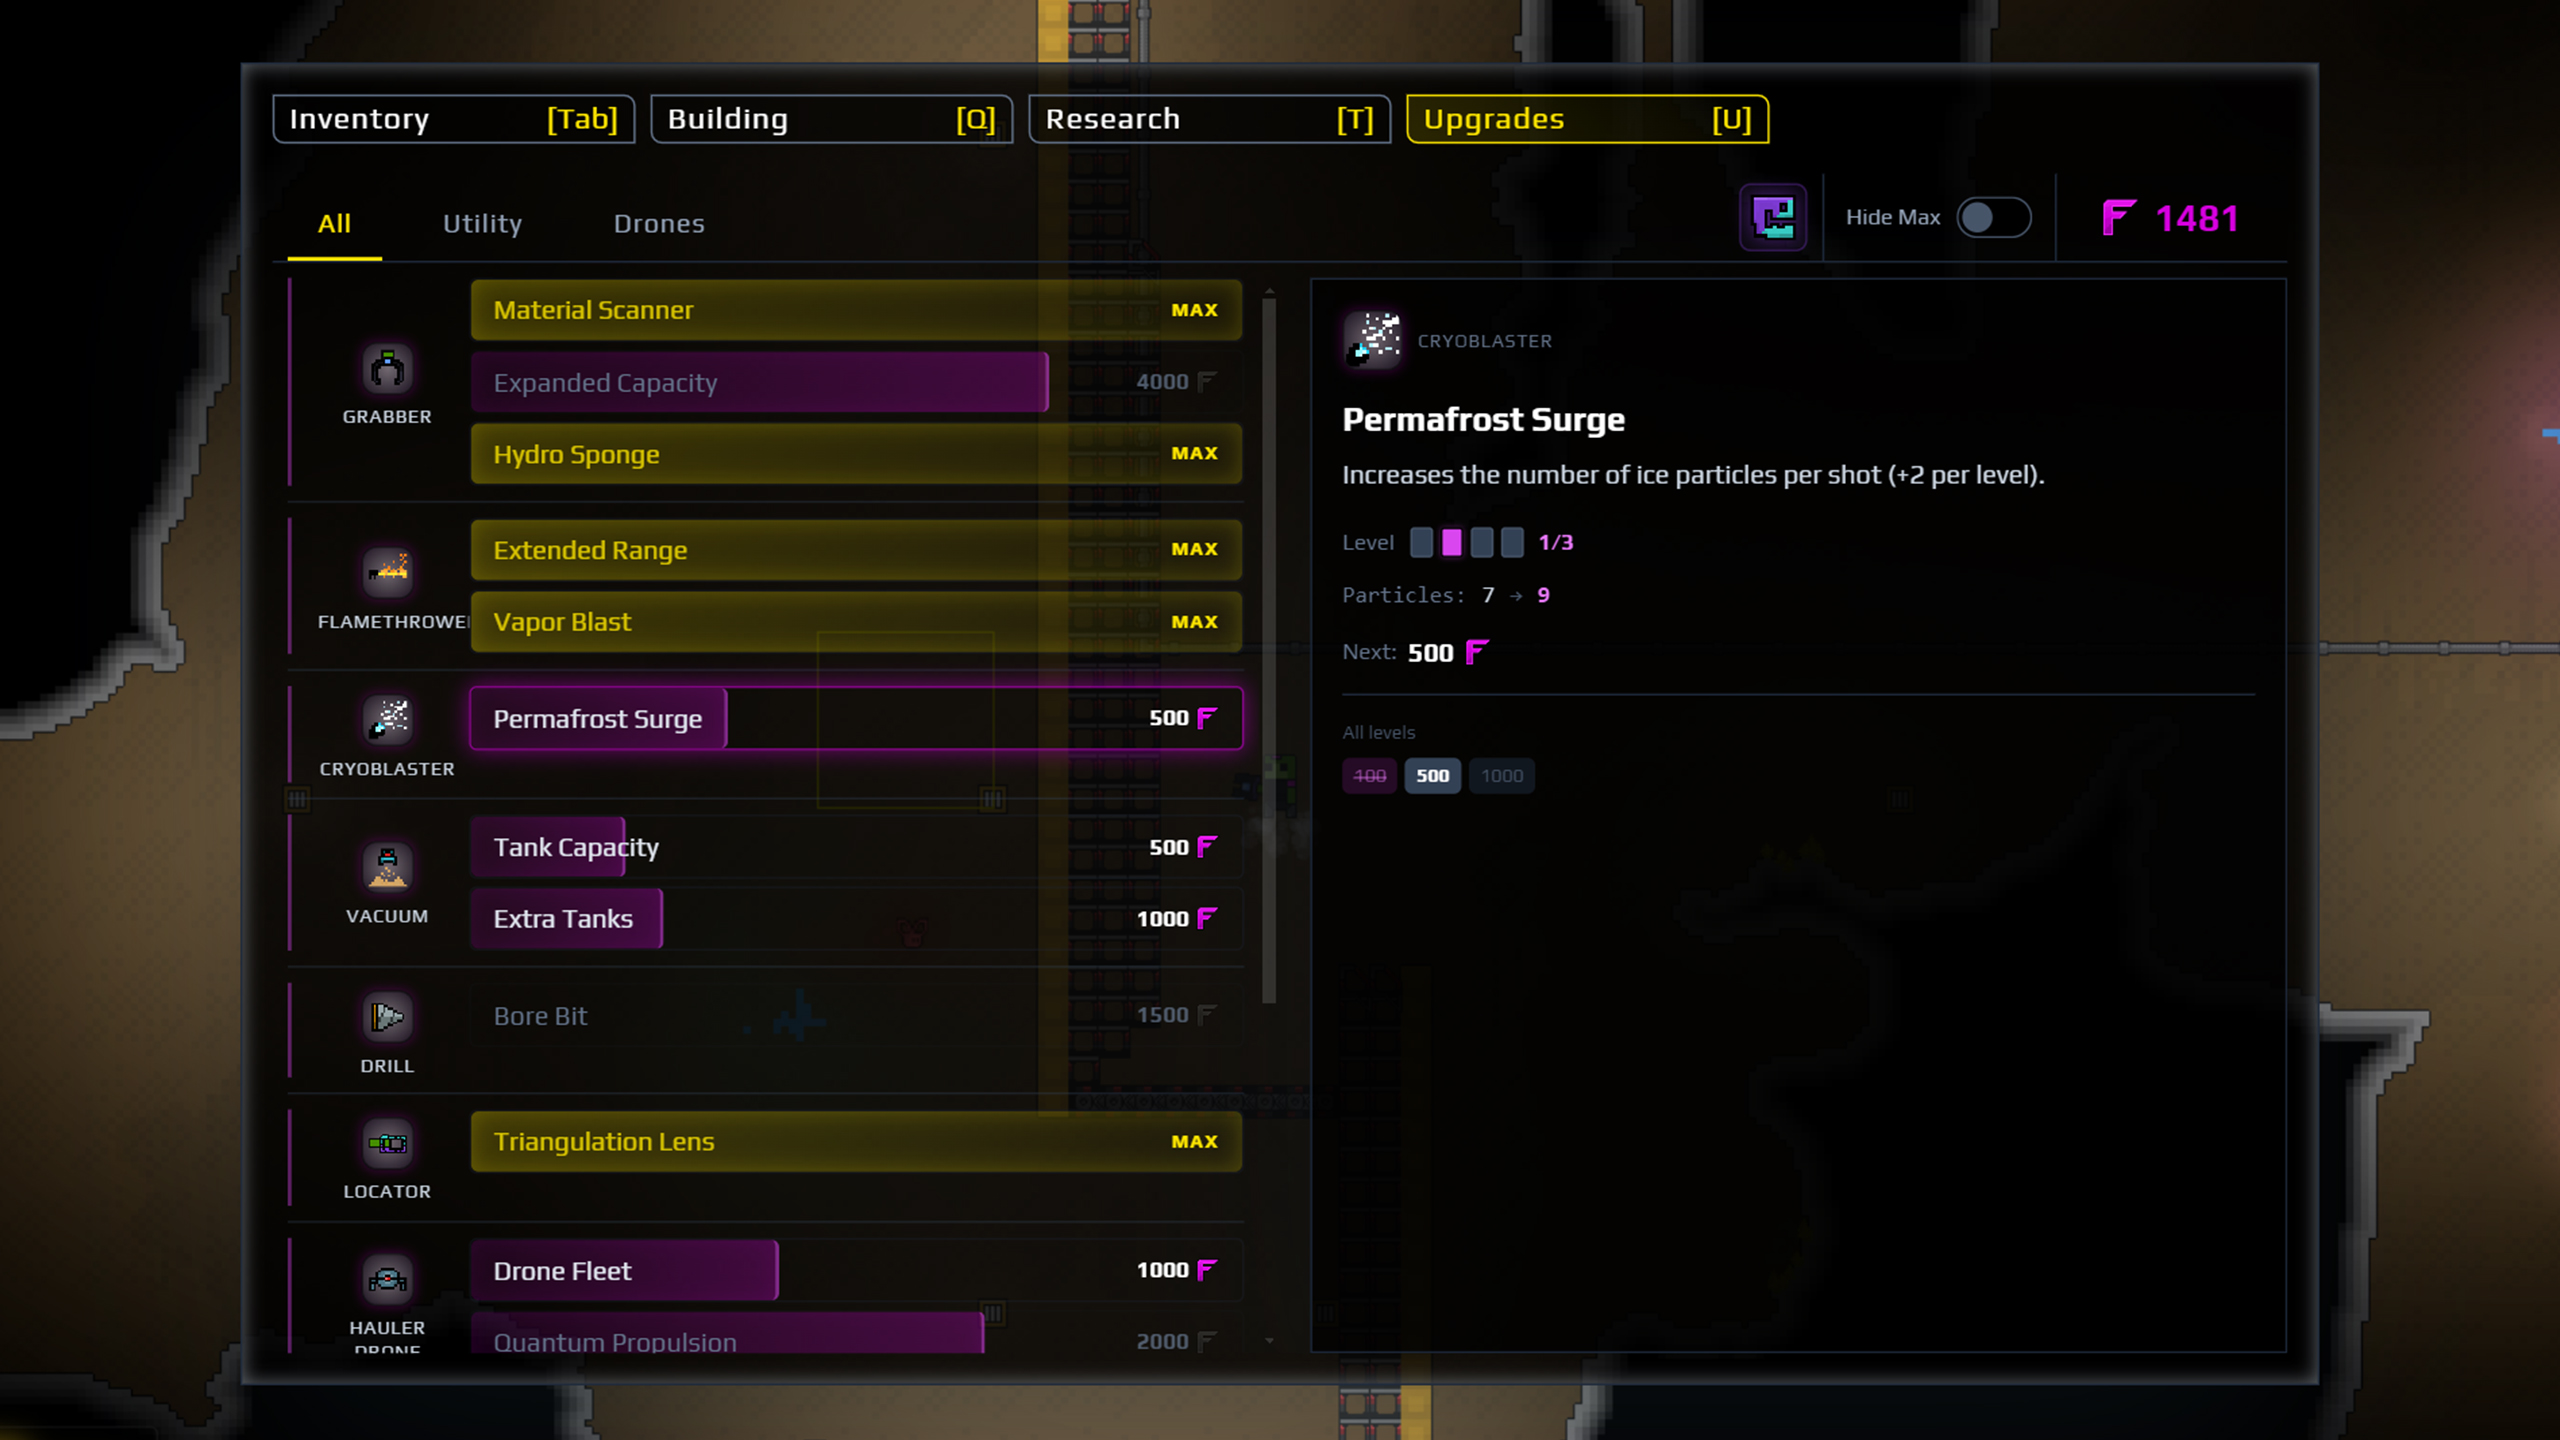
Upgrades improve your personal tools and drones — the Grabber, Flamethrower, drones, and more. They cost Fluxite, which appears naturally and can also be produced. A larger Grabber capacity is especially helpful early on because it lets you move material in bigger chunks.
Augments
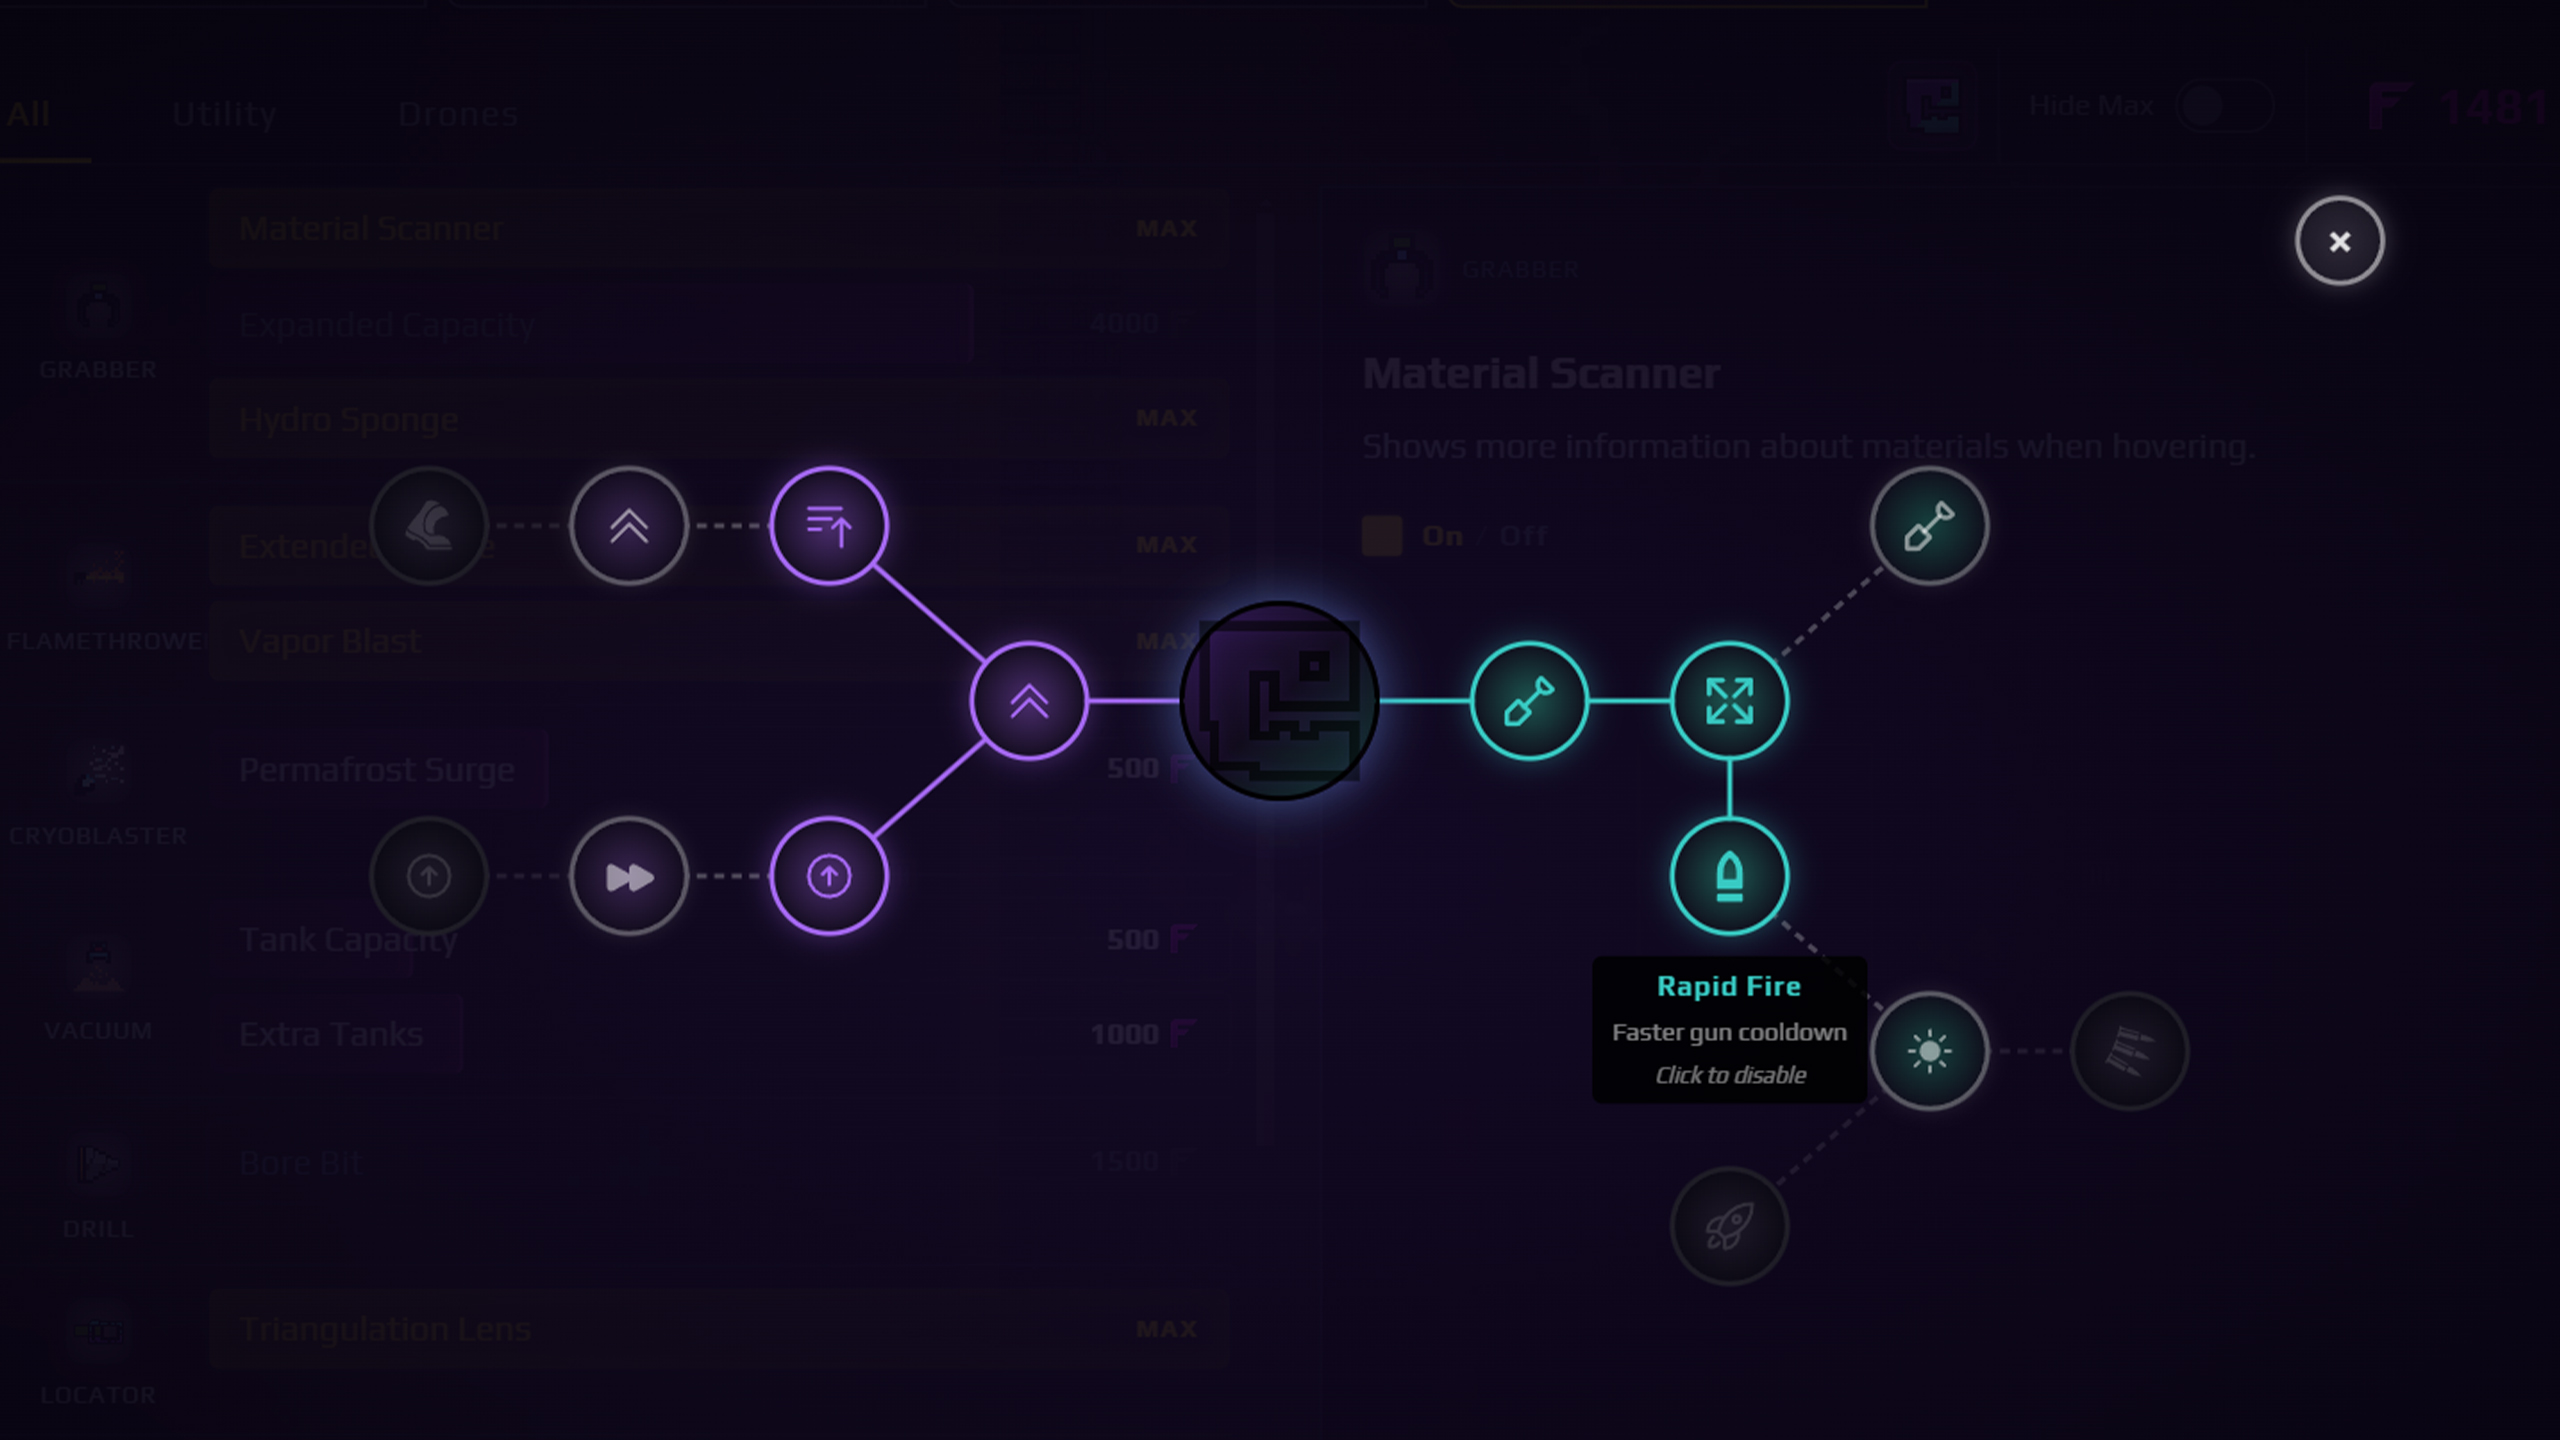
Recovering Artifacts from ancient chambers grants Augments: permanent upgrades for utility items and your character. Confirmed effects include faster movement, longer boosts, and weapon improvements. The first Artifact also unlocks the Ancient Technology Steam achievement.
Tier 1→5 Progression Route
This route is adapted from community progression guides and focuses on the systems that actually unlock the next tier.
Quick Summary
Finish the tutorial → Reliable Gold → Tier 2 Water objective → 3,000 Burnt Residue → Tier 3 → Reliable flower production → Tier 4 → Anomaly progression → Florinol gate → Tier 5 → 100,000 Energy.
The time-saving rule is: work on the system blocking the current gate, then stop expanding it once you move on.
Step 1: Reliable Gold
The tutorial teaches you to dig Sand, make Wet Sand, run it through a Shaker, and move outputs with Belts and Launchers. Once it ends, stop polishing the tutorial setup and build a simple, reliable Gold line:
Sand reaches processing → Gold reaches collection → Objectives and research keep moving.
It does not need to look good; it needs to keep running while you do other things.
Step 2: Save Gold for Water at Tier 2
Tier 2 offers enough distractions that it is easy to overspend. The key purchase is the Kinetic Press for 500 Gold. Protect that Gold and follow Zoe’s marker toward the ancient boiler area; this is where Water becomes infrastructure rather than something you carry by hand.
Step 3: Reach 3,000 Burnt Residue
This objective is the first real throughput check. A tiny loop can prove a chain works; a target in the thousands asks whether the factory can run without constant rescue. If the factory is empty, add more input. If it is full but the counter barely moves, fix throughput or clogging.
Step 4: Prepare Flowers at Tier 3
When Tier 3 opens, shift attention to the flower chain:
Wet Seeds → Planter Boxes → Flowers → Amethelis
If flowers are blocking the next tier, stop spending on unrelated upgrades and make this line reliable enough to run while you explore.
Step 5: Follow the Anomaly at Tier 4
Tier 4 sends you underground through Anomaly progression. This is a deliberate break from factory expansion. Follow the marker instead of rebuilding the previous stage for another hour.
Step 6: Hit 100,000 Energy at Tier 5
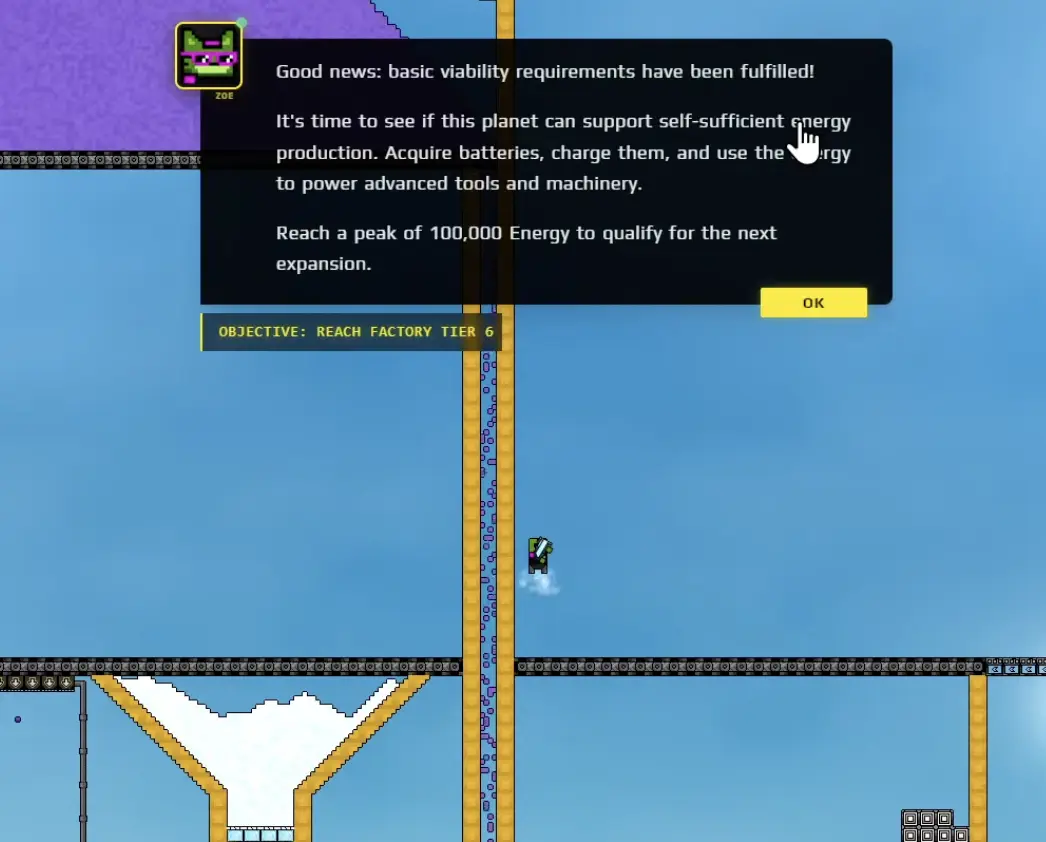
The Tier 5 target is to reach a peak of 100,000 Energy. At this point the question becomes: What is preventing stored Energy from climbing? If Energy is already rising, let the system work before spending on side branches. If it has stalled, inspect the electrical system first.
Gameplay Tips and Tricks
Building Shortcuts
- Press C to select a structure, then Ctrl + C and Ctrl + V to copy and paste repeated builds.
- Hold Ctrl to replace a structure in place — useful when you unlock better belts or launchers.
- Increasing your Grabber capacity early is one of the best Fluxite investments.
Creatures and Exploration
- Capture creatures with the Corraller. Some, such as Lumlings, can provide a steady trickle of water.
- If a resource is hard to move upward, consider changing its state of matter temporarily.
Moving Lava
Lava cannot move through pipes. To relocate it:
- Freeze it with the Cryoblaster until it becomes solid Cinder.
- Mine the Cinder with your Shovel.
- Transport the Cinder where you want it.
- Reignite it from a hot enough source, such as a Flamethrower, to turn it back into lava.
Energy Production Chain
The late-game Energy chain is:
Amethelis → Steam → Dry Amethelis → Heat → Florin (gas) → Cold → Florinol (liquid) → Florinol Battery → Energy
Puzzle and Exploration Tips
- Some ancient puzzles require tools you do not own yet — note the location and return later.
- If you get trapped, use the unstuck command in the pause menu.
- A Flamethrower destroys solid ice stalactites more cleanly than a Rocket Launcher.
- The Laser consumes a lot of power but cuts through surface-layer obstacles very quickly.
Input and Output Ratios
Credit for these ratios goes to Discord users Knuks and Metylene.
Overall Ratio
The approximate overall input/output balance is:
2 Sand : 3 Water : 4 Redsand = 3 Gold : 8 Fluxite
Final outputs depend heavily on burn yield at the Slag stage, with minor variation from the Planter Box stage. Gold is probabilistic at the Shaker but deterministic afterward. Once a map’s Redsand is consumed, you are usually left with a large surplus of Amethelis.
Production Chain Summary
| Stage | Input | Structure / Method | Output | By-product |
|---|---|---|---|---|
| 1 | Wet Sand | Shaker | Gold (20–25% chance) | Residue / Slag |
| 2 | Residue / Slag | Fire | Burnt Residue | — |
| 3 | Burnt Residue | Kinetic Press (drop ≥ 25 blocks) | Gold + Seed | — |
| 4 | Wet Seed | Planter Box | Flower → Gold + Amethelis | — |
| 5 | Amethelis + Steam | Heat | Dry Amethelis | — |
| 6 | Dry Amethelis + Heat | Thermal structure | Florin (gas) | — |
| 7 | Florin + Cold | Condenser | Florinol (liquid) | — |
| 8 | Florinol | Florinol Battery | Energy | — |
Sources
This guide is a rewritten compilation based on: